Grow Black Currant at Home
Let’s Grow Black Currant at Home! Black currants are an excellent addition to any home garden, offering nutrient-packed berries with a uniquely tart flavor. Whether you’re growing them for fresh eating, jams, or baking, getting your planting technique right sets the foundation for a successful harvest.
If you’ve ever wondered, “What’s the best way to plant black currant bushes?”, this guide will walk you through choosing the right location, soil preparation, and planting techniques to ensure healthy growth and high yields.
Are Black Currants Easy to Grow?
Yes! Black currants are relatively easy to grow, especially if you plant them in the right conditions. They require moderate maintenance, including proper watering, pruning, and occasional fertilizing. They thrive in cooler climates and are resistant to most pests, making them a great choice for beginner gardeners.
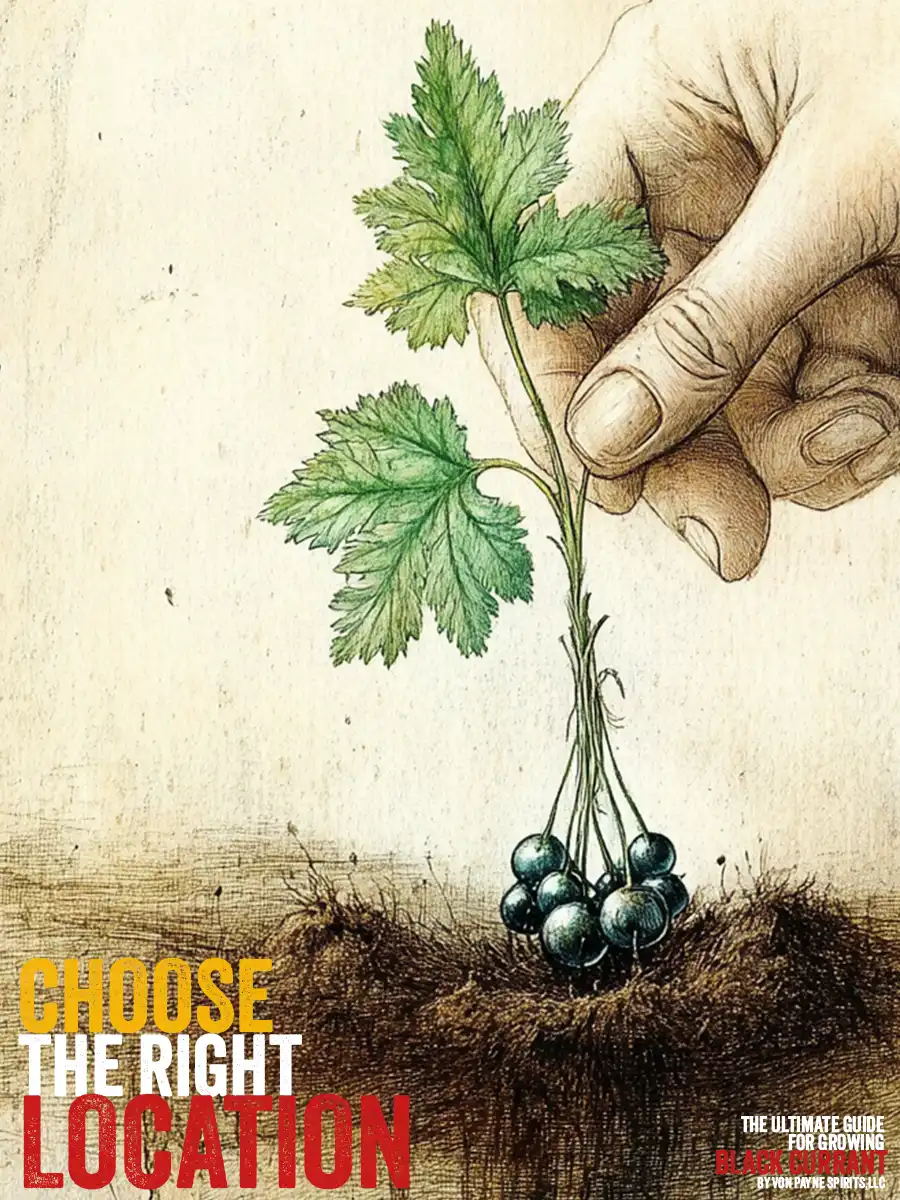
Choosing the Right Location to Grow Black Currant
Where you plant your black currants matters more than you think. The right location maximizes growth, prevents disease, and boosts fruit production.
- Sunlight Requirements: Black currants thrive in full sun to partial shade, with at least 4-6 hours of sunlight daily. In hotter climates, providing afternoon shade can prevent heat stress.
- Soil Conditions: These plants prefer well-drained, loamy soil with a slightly acidic to neutral pH (5.5-7.0). Heavy clay or waterlogged soil can cause root rot.
- Air Circulation: Good airflow helps reduce fungal infections like powdery mildew, so avoid planting in overly crowded spaces or enclosed areas.
Where Is the Best Place to Plant Blackcurrant Bushes?
The best place to plant black currants is in a cool, temperate climate with moist, well-draining soil. Ideally, they should be in an area with morning sun and afternoon shade, especially in warmer regions. Black currants also benefit from being planted in rows with good spacing to allow proper air circulation.
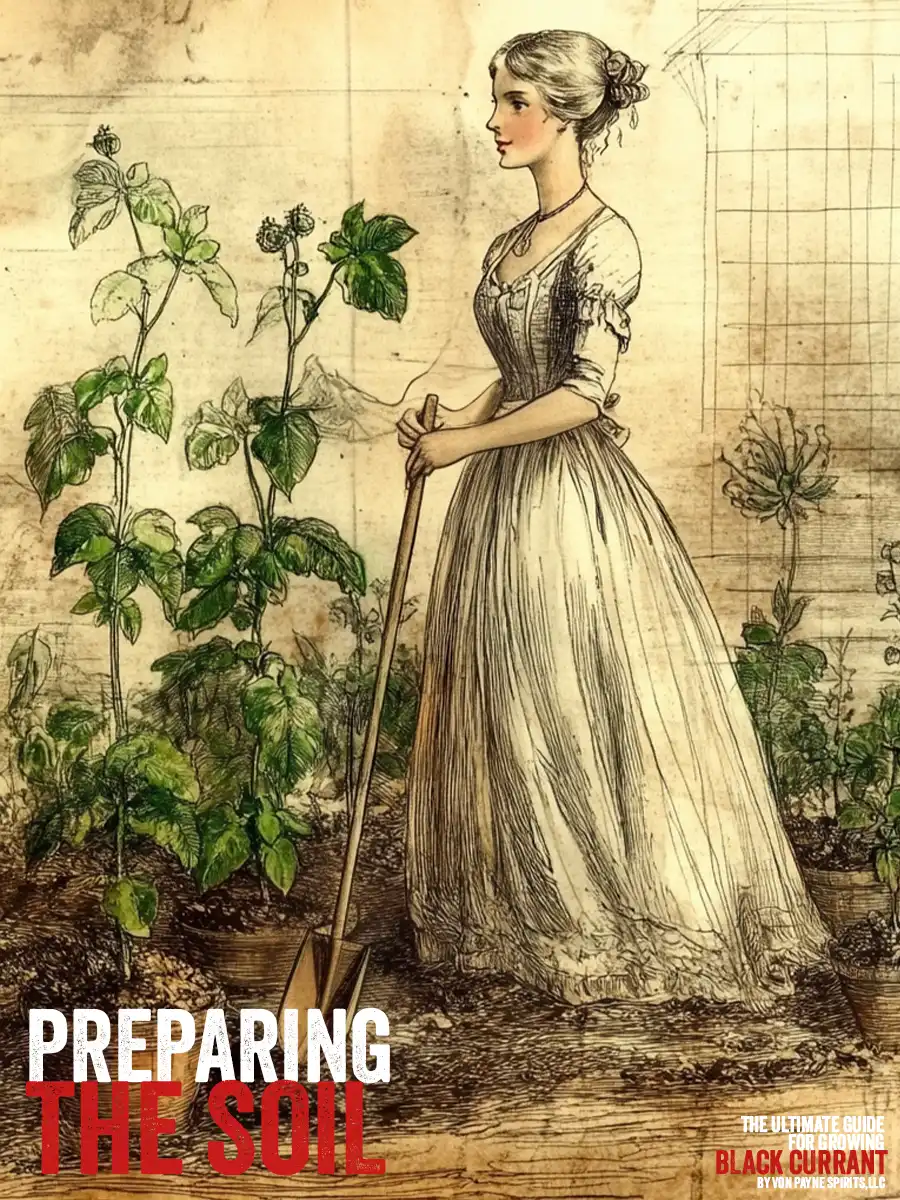
Preparing the Soil: Best Soil to Grow Black Currant
Healthy soil = healthy plants. Here’s how to set your black currant shrubs up for success:
- Enrich with Organic Matter: Mix compost, aged manure, or peat moss into the soil before planting. This boosts nutrients and improves drainage.
- Ensure Proper Drainage: If your soil tends to hold water, consider raising the planting area or using raised beds.
- Test Soil pH: Black currants prefer a pH of 5.5-7.0. If the soil is too acidic, add lime; if it’s too alkaline, use sulfur to adjust.
How Long Do Blackcurrants Take to Grow?
Black currant plants start to grow as soon as temperatures rise in spring. You’ll see leaf development within a few weeks of planting, and bushy growth will continue throughout the season. By the second year, your plant will be well-established and much larger.
How Long Does It Take for Black Currant to Fruit?
Black currants typically start producing fruit in their second year, with a full harvest by the third year. However, some varieties may bear a small crop in their first year if conditions are ideal. Mature black currant plants can produce berries for up to 10-15 years!
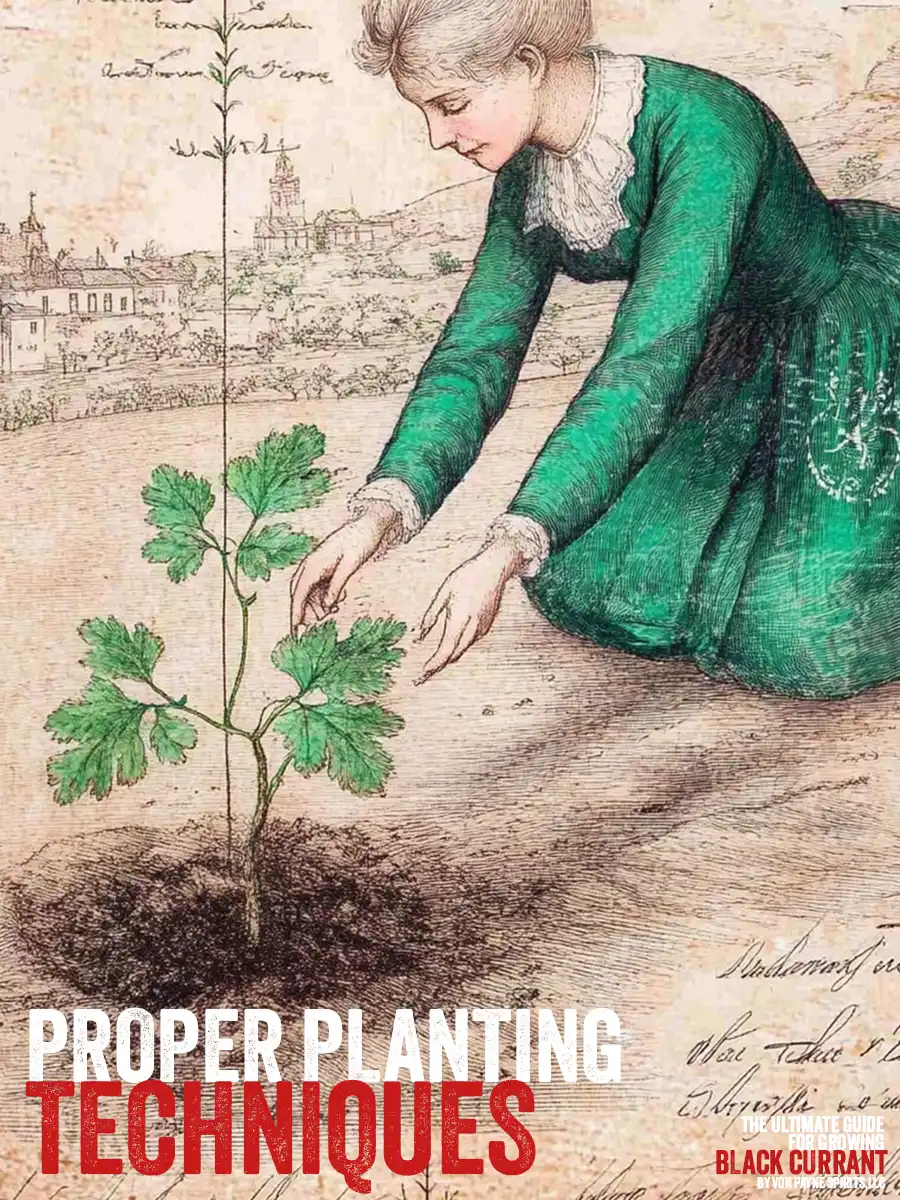
Proper Planting Techniques
Following the right steps prevents transplant shock and helps the plant establish strong roots.
When to Plant
- Best Time: Late autumn (after leaf drop) or early spring (before new growth starts) is ideal.
- Ideal Conditions: Cool temperatures and moist soil encourage rapid root development.
How to Plant: From Young Plant
- Dig the Hole: Make a hole twice as wide and as deep as the plant’s root ball.
- Space Your Plants: Keep plants 3-5 feet apart in rows 5-6 feet apart for optimal airflow and easy maintenance.
- Position the Plant: Set the plant slightly deeper than it was in the nursery pot to encourage stronger root growth.
- Backfill and Firm the Soil: Fill the hole with enriched soil, pressing down gently to remove air pockets.
- Water Thoroughly: Give the plant a deep soak to help settle the soil and prevent transplant stress.
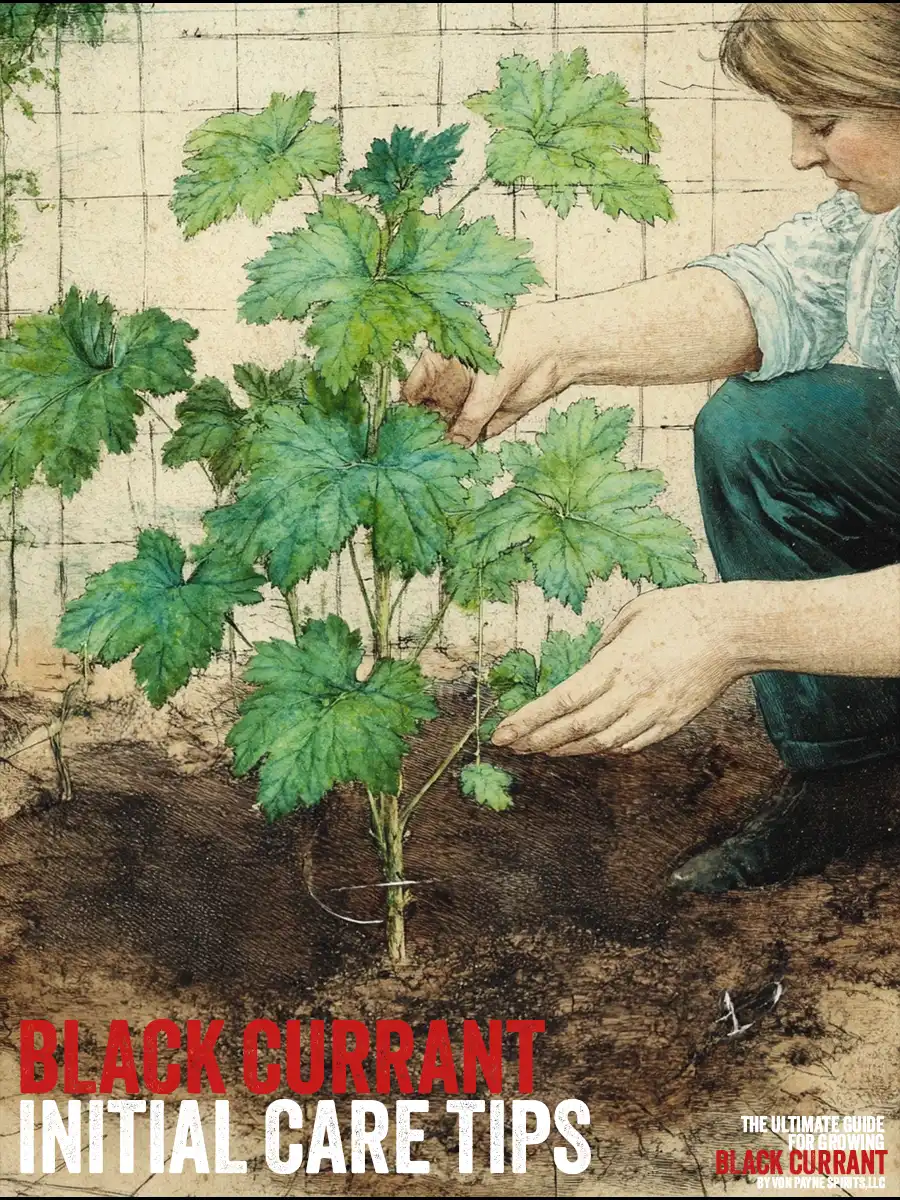
Initial Care Tips
After planting, early care is crucial to getting your black currants off to the best start.
- Mulching: Apply a 2-3 inch layer of mulch (straw, wood chips, or compost) around the base to retain moisture, suppress weeds, and regulate temperature.
- Watering: Keep the soil consistently moist but not waterlogged, especially during the first few weeks.
- Pruning: Trim off weak or damaged branches to encourage strong, healthy growth.

What States Ban Black Currants?
Black currants were banned in parts of the U.S. for many years due to their role in spreading white pine blister rust, which threatened the timber industry. While restrictions have been lifted in many areas, some states still regulate or prohibit black currant cultivation.
States that still have restrictions include:
- Maine
- New Hampshire
- Virginia
- Massachusetts (restrictions on certain varieties)
Before planting black currants, check with your local agricultural department to confirm any restrictions in your state.
Continue Your Black Currant Growing Journey
Planting black currants is just the first step to growing healthy, productive shrubs, but there’s still more to learn! From caring for your plants to fertilizing correctly and solving common issues, proper maintenance ensures bountiful harvests for years to come.
After all this talk about planting, pruning, and picking black currants, I think we can all agree on one thing—gardening is hard work. But you know what’s easy? Enjoying a glass of Von Payne Black. Discover Von Payne Black’s unique, one-of-a-kind infusion using real, natural black currant. Get a bottle now!
Looking for more black currant knowledge? Check out these essential guides:
- The Ultimate Guide to Growing Black Currant
- How to Grow Black Currant
- Best Fertilizing Practices for Black Currant
- Care Tips for Black Currant Plants
- Solving Common Black Currant Problems
- Harvesting Black Currants
Happy growing—and even happier sipping!
